...
00. 사전 작업
00-1. Pycharm 설치
00-2. Git 설치
00-3. Bitbucket계정 및 프로젝트 권한
...
01. Bitbucket - Django Helloworld 프로젝트
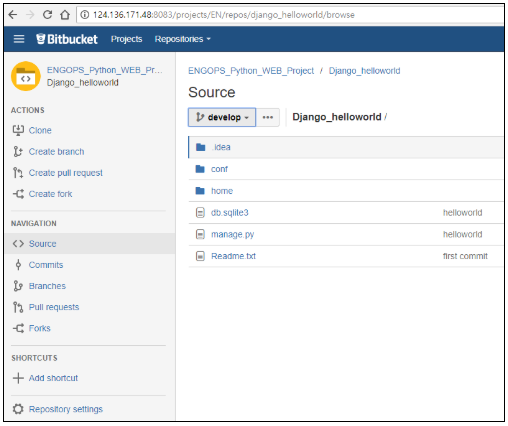
- 주소 : http://124x.136x.171x.48:8083x/projects/EN/repos/django_helloworld/browse
- 위 주소로 접속하여, 본인의 Bitbucket 계정으로 접속합니다.
02. Pycharm에서 develop checkout받기
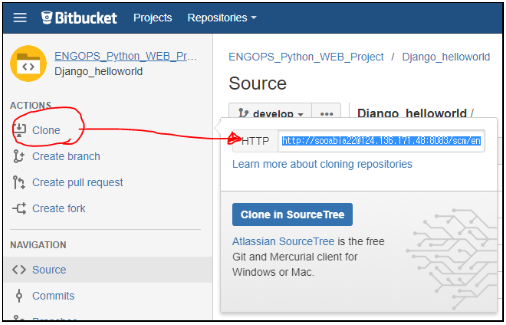
02-1. bitbucket에서 helloworld프로젝트의 develop을 clone합니다.
- develop clone : http://[계정정보]@124@x.136x.171x.48:8083x/scm/en/django_helloworld.git
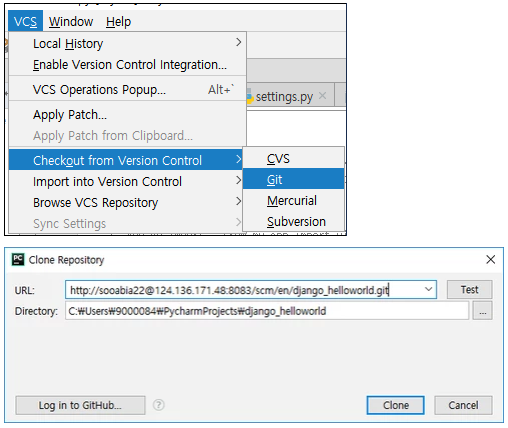
02-2. Pycharm에서 develop을 checkout합니다.
- Pycharm의 VCS → checkout from Version Control → Git 을 선택 합니다.
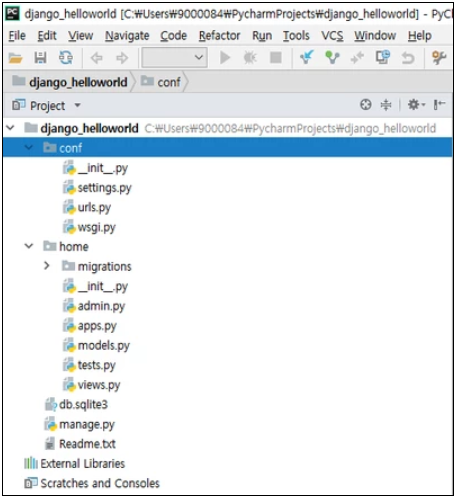
02-3. 프로젝트 생성 화면
03. 가상환경 설정
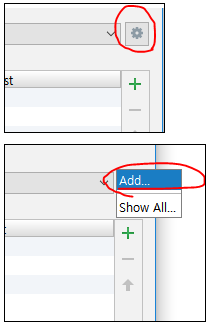
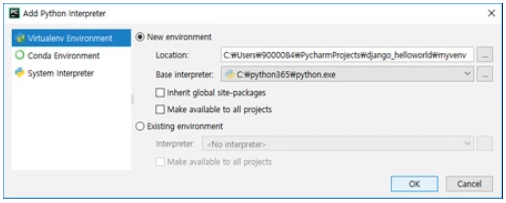
03-1. 가상환경 생성
가상환경 생성 결과
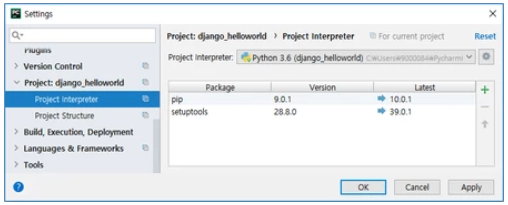
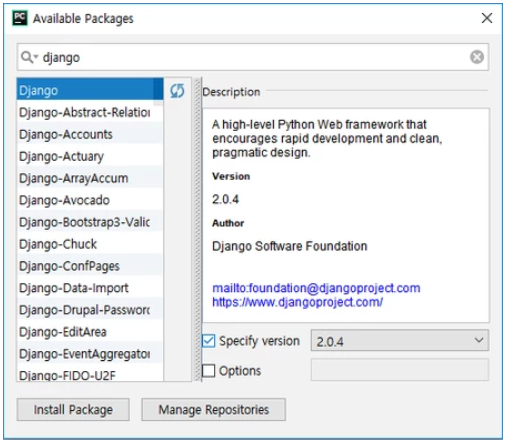
03-2. Django 설치
...
| Info | ||
|---|---|---|
| ||
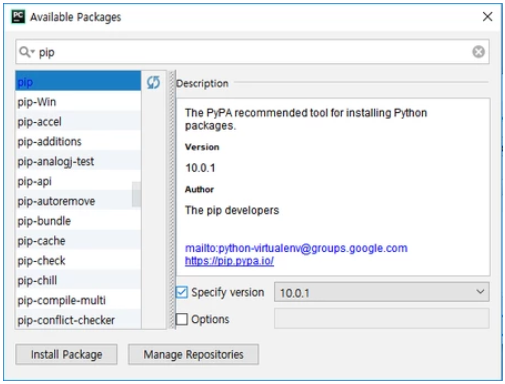
PIP설치
| Info | ||
|---|---|---|
| ||
PIP를 설치하고 나면, self.verify = True로 또 바뀝니다. 따라서, 한번더 self.verify = False로 수정합니다. |
Django 설치
04. 서버실행
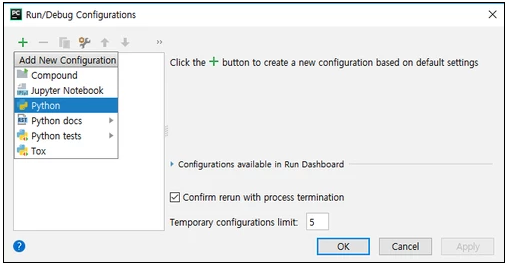
04-1. 서버실행 설정
- Run설정에서 Python을 선택합니다.
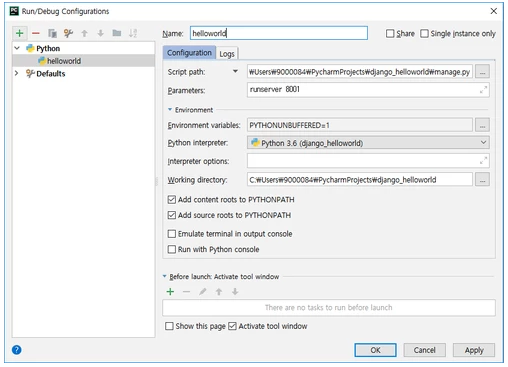
- 실행을 설정합니다.
Name : helloworld
...
Parameters : runserver [PORT]
04-2. 서버실행
- Run helloworld 를 실행 합니다.
- helloworld를 실행하면, 콘솔창에 서버실행 로그가 보여집니다.
- 브라우저로 실행하여 결과를 확인 합니다.
